
Introduction
Home brewing has witnessed a surge in popularity in recent years, captivating beer enthusiasts around the globe. The allure of crafting one’s own beer, tailored to personal tastes and preferences, has fueled the growth of this vibrant hobby. Home brewing offers a unique and fulfilling experience, allowing individuals to explore their creativity, experiment with flavors, and gain a deeper appreciation for the art and science of brewing. With the availability of comprehensive resources, dedicated communities, and a wide array of ingredients and equipment, home brewing has become more accessible than ever before. Join the ranks of passionate home brewers and embark on a journey of flavor exploration and brewing mastery.
Table of Contents
Chapter 1: Getting Started with Home Brewing
1.1 The Basics of Home Brewing
Home brewing is the process of crafting beer in the comfort of your own home, allowing you to become the brewmaster and create unique flavors tailored to your preferences. Not only does home brewing offer a rewarding and enjoyable hobby, but it also provides an opportunity to explore a wide variety of beer styles and experiment with different ingredients.
The brewing process involves several key steps, starting with the preparation of the ingredients and progressing through mashing, boiling, fermentation, conditioning, and carbonation. Each step plays a vital role in the development of flavors, aromas, and the overall quality of the beer. By understanding the fundamentals of home brewing, you can gain full control over the brewing process and create beers that match your taste preferences.

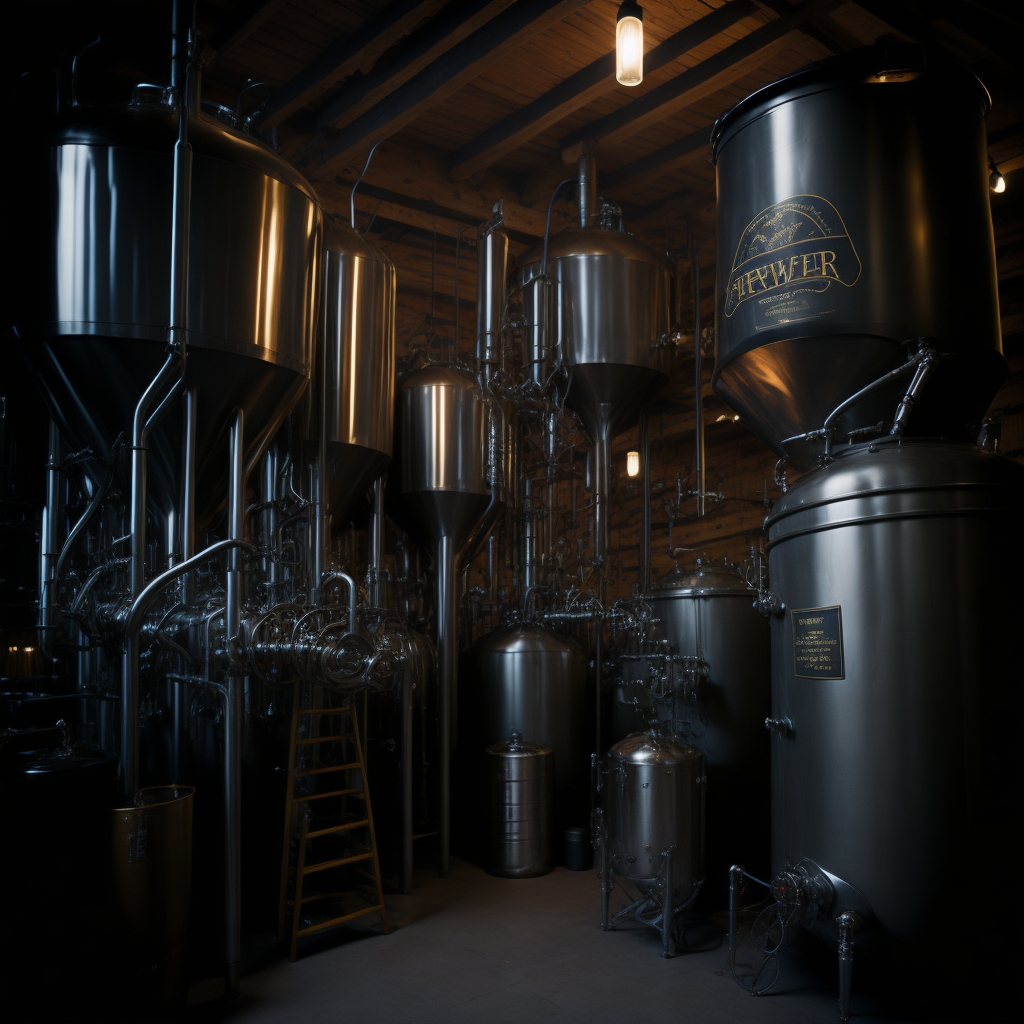
1.2 Essential Equipment for Home Brewing
To embark on your home brewing journey, you’ll need a set of essential equipment that ensures a successful brewing experience. Here are the key pieces of equipment and their functions:
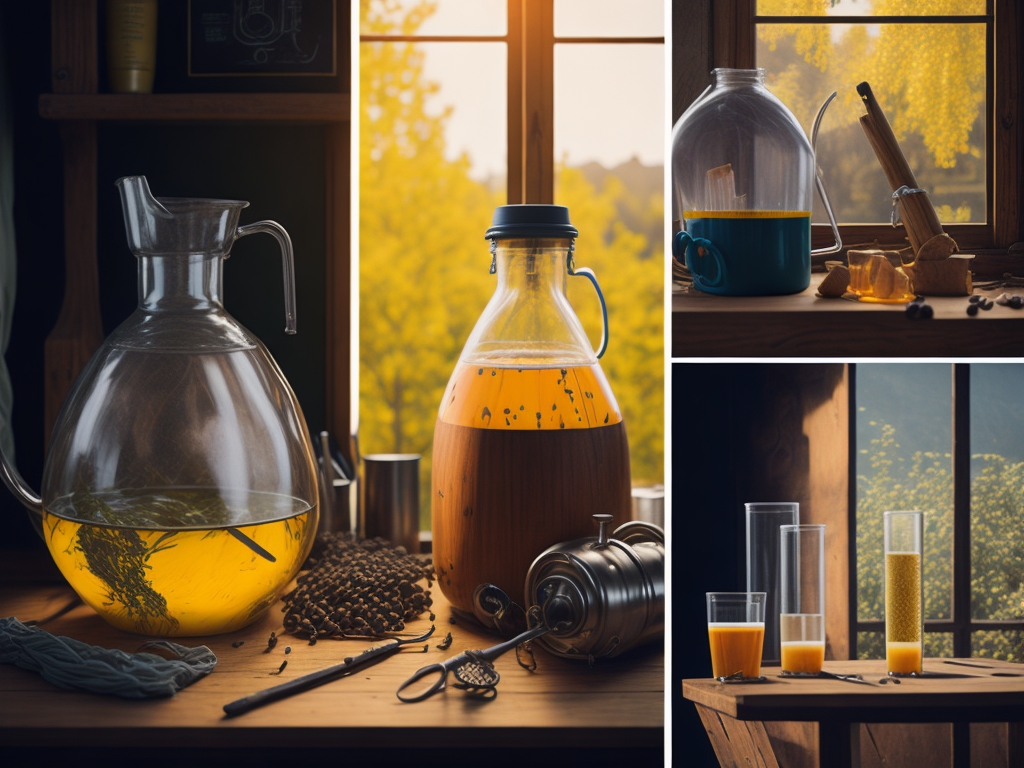
- Fermenter: A vessel where the fermentation process takes place, such as a glass carboy or a plastic bucket. It provides a controlled environment for yeast to convert sugars into alcohol and carbon dioxide.
- Airlock: A device fitted onto the fermenter that allows carbon dioxide to escape while preventing contaminants from entering the fermenting beer.
- Hydrometer: A tool used to measure the specific gravity of the beer at different stages of the brewing process. It helps determine the alcohol content and the progress of fermentation.
- Thermometer: An essential tool for monitoring and controlling temperatures throughout the brewing process. It ensures the yeast is within the optimal temperature range for fermentation.
- Brew Kettle: A large pot used for boiling the wort (unfermented beer) and adding hops to impart bitterness, flavor, and aroma.
- Siphoning Setup: A system that allows you to transfer the beer between different vessels while minimizing oxygen exposure and avoiding sediment disturbance.
- Sanitizing Solution: Proper sanitation is crucial to prevent contamination. A sanitizing solution, such as iodophor or Star San, is used to sanitize all equipment before and after each use.
When selecting equipment, it’s recommended to invest in high-quality options that are durable and easy to clean. This ensures a more consistent brewing process and reduces the risk of contamination or equipment failure.
1.3 Ingredients for Home Brewing
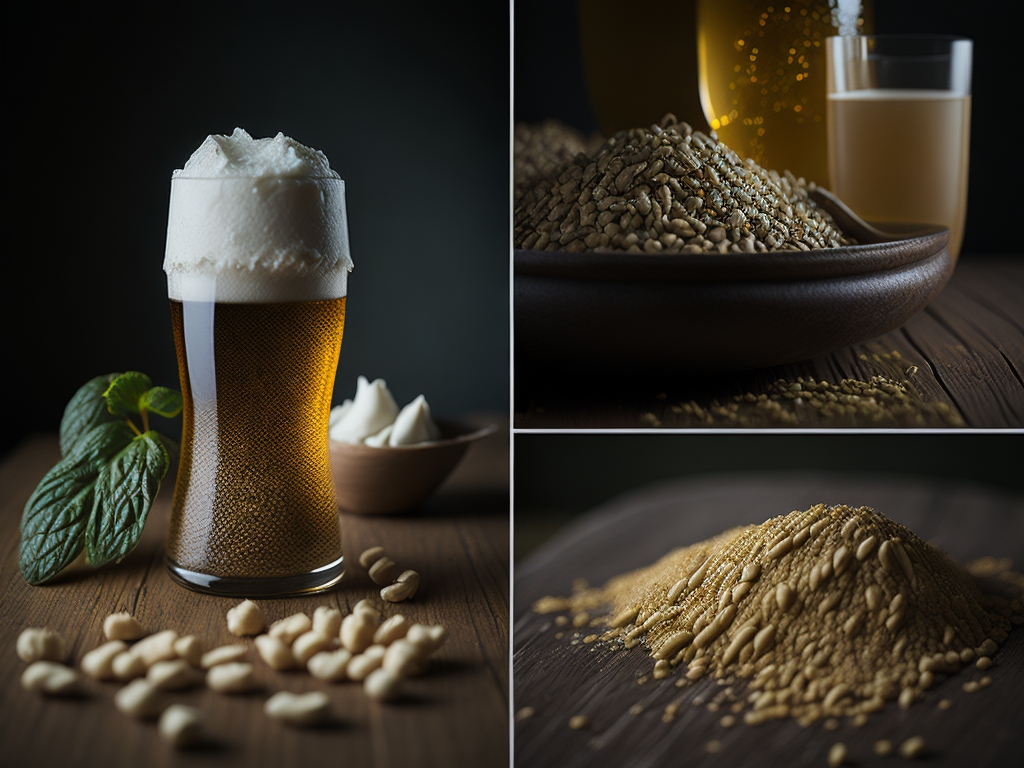
The key ingredients in home brewing include malt, hops, yeast, and water. Understanding their role and ensuring their quality is essential for producing delicious beers.
- Malt: Malt provides the sugars necessary for fermentation. It is typically derived from barley that has undergone a malting process, which activates enzymes that convert starches into fermentable sugars.
- Hops: Hops contribute bitterness, flavor, and aroma to beer. They balance the sweetness of the malt and provide complexity and character to different beer styles.
- Yeast: Yeast is responsible for fermentation, converting sugars into alcohol and carbon dioxide. There are two main types of yeast used in home brewing: ale yeast (top-fermenting) and lager yeast (bottom-fermenting), each imparting distinct flavors and characteristics.
- Water: Water makes up the majority of beer and affects its overall flavor. The mineral content and pH level of the water can influence the beer’s taste, clarity, and fermentation process. Understanding and adjusting water chemistry can help achieve desired results.
Choosing high-quality ingredients is vital for producing great-tasting beer. Fresh, properly stored malt, fresh and aromatic hops, and healthy yeast strains contribute to the overall quality and flavor profile of your homebrewed beer.
By familiarizing yourself with the basics of home brewing, acquiring the essential equipment, and selecting quality ingredients, you’ll be well-prepared to embark on your brewing journey and create your first batch of delicious beer.
Chapter 2: Step-by-Step Home Brewing Process
2.1 Recipe Selection and Formulation
One of the exciting aspects of home brewing is the ability to choose from a wide range of beer styles and flavors. When selecting a beer style, consider your personal preferences and the characteristics you want to achieve. You can explore various sources such as brewing books, online resources, or even take inspiration from commercial beers.

To find suitable recipes, you can refer to brewing websites, recipe books, or join online brewing communities where experienced brewers share their recipes. It’s important to follow recipes closely, especially as a beginner, to gain an understanding of the ingredients, proportions, and techniques involved.
If you’re feeling adventurous, you can also formulate your own recipes. Start with a base malt and select specialty malts, hops, and yeast that complement your desired flavor profile. Experiment with different combinations and take notes of your brewing process and the results. Over time, you’ll develop a sense of recipe formulation and be able to create unique beers that suit your taste preferences.
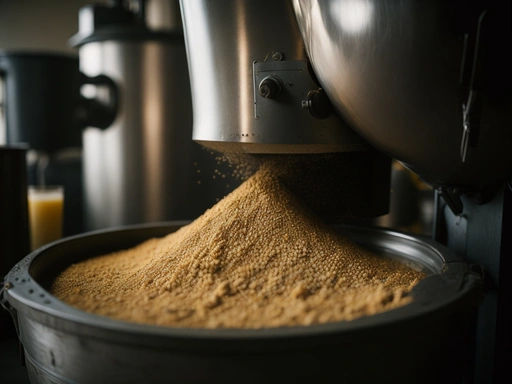
2.2 Mashing and Extracting Fermentable Sugars
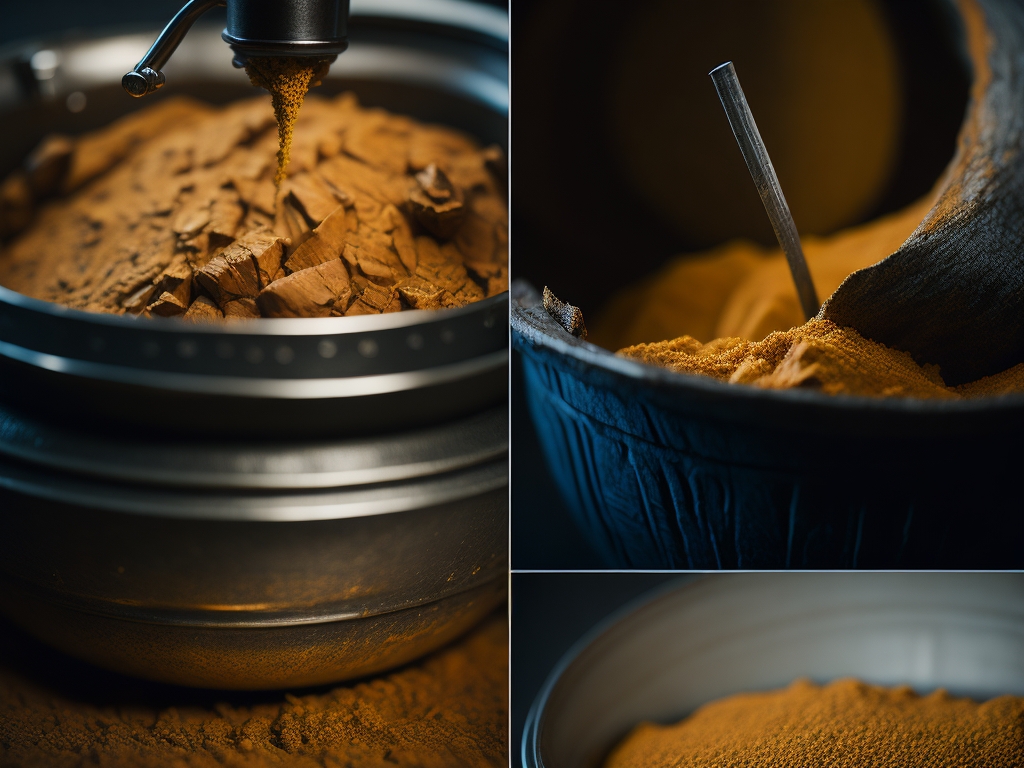
Mashing is a critical step in the brewing process where the enzymes in malt convert starches into fermentable sugars. This process provides the necessary food source for the yeast during fermentation. Here’s a step-by-step guide to mashing:
- Crush the grains: If using whole grains, crush them using a grain mill to expose the starches inside.
- Heat the water: Heat the brewing water to a specific temperature, usually around 150-160°F (66-71°C), in a separate vessel called a hot liquor tank.
- Add the grains: Transfer the crushed grains to the mash tun and gradually add the heated water, creating a mixture called the mash.
- Stir and rest: Stir the mash thoroughly to ensure all grains are wetted, and then let it rest for about an hour. During this time, enzymes in the malt break down the starches into fermentable sugars.
- Vorlauf and sparge: Vorlauf refers to recirculating a portion of the liquid from the mash tun back on top of the grain bed to clarify the wort. After vorlaufing, sparge the grains by gently rinsing them with hot water to extract remaining sugars.
- Collect the wort: Drain the liquid, known as the wort, from the mash tun into the brew kettle. This wort contains the dissolved sugars from the malt.
The mashing process is crucial for achieving desired flavor profiles, body, and mouthfeel in your beer. By controlling factors such as temperature and duration, you can influence the fermentability and character of the final product.
2.3 Boiling and Hop Addition
After the mashing process, the next step is boiling the wort. The boiling process serves several important purposes:
- Sterilization: Boiling the wort ensures that any unwanted microorganisms present in the ingredients are killed, reducing the risk of contamination.
- Hop utilization: Boiling allows the extraction of bitterness, flavors, and aromas from hops. The length of boiling and the timing of hop additions greatly impact the final hop character in the beer.

During the boil, you can follow these techniques for hop addition:
- Bittering hops: Add hops at the beginning of the boil to extract bitterness. The longer the hops boil, the more bitterness they impart.
- Flavor hops: Add hops in the middle of the boil, typically 15-30 minutes before the end, to contribute flavors and aromas to the beer.
- Aroma hops: Add hops toward the end of the boil, usually within the last 5-10 minutes, to enhance the beer’s aroma.
By adjusting the timing and quantity of hop additions, you can achieve a balanced or hop-forward beer according to your preferences.
2.4 Fermentation and Conditioning
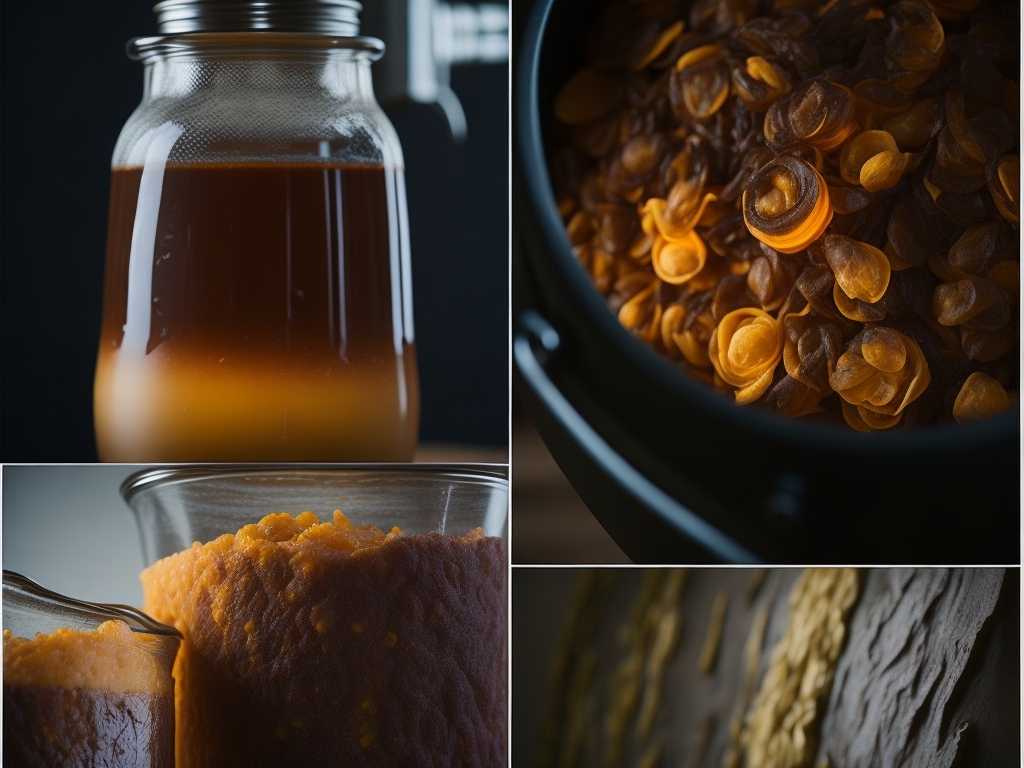
Fermentation is where the magic happens as yeast consumes the sugars in the wort, converting them into alcohol and carbon dioxide. Proper yeast selection and pitching are crucial for successful fermentation. Here’s an overview of the fermentation and conditioning steps:
- Yeast selection: Choose a yeast strain that complements your desired beer style. There are various yeast options available, each contributing unique flavors and characteristics.
- Yeast pitching: Once the wort has cooled to an appropriate temperature, usually between 65-75°F (18-24°C), add the yeast to the fermenter. This process is known as yeast pitching.
- Primary fermentation: The initial phase of fermentation is called primary fermentation. During this stage, the yeast converts sugars into alcohol and produces flavors and aromas.
- Secondary fermentation (optional): Some brewers choose to transfer the beer to a secondary fermenter to allow for further clarification and additional conditioning. This step is not always necessary, depending on the beer style.
- Conditioning: After primary fermentation is complete, the beer is conditioned to allow flavors to mellow and the yeast to settle. This can be done in the fermenter or by transferring the beer to a separate vessel.
The fermentation and conditioning period can range from a few days to several weeks, depending on the beer style and desired outcomes. It’s crucial to monitor the fermentation temperature and take hydrometer readings to ensure fermentation progress and to determine when it’s time to proceed to the next step.
By understanding the mashing, boiling, fermentation, and conditioning processes, you’ll have a solid foundation for brewing your own beer at home. These steps lay the groundwork for creating unique and flavorful brews that reflect your personal style and preferences.
Chapter 3: Advanced Home Brewing Techniques
3.1 All-Grain Brewing
All-grain brewing is a method that allows brewers to have complete control over the brewing process, starting from raw grains instead of using pre-made malt extracts. This technique provides greater flexibility and the ability to fine-tune recipes according to specific preferences. Here’s an introduction to all-grain brewing and its advantages:
All-grain brewing involves mashing the grains to extract fermentable sugars, as discussed in Chapter 2. The process begins with milling the grains to expose the starches inside. Brewers then create a mash by mixing the crushed grains with hot water at specific temperatures to facilitate enzymatic activity. By controlling the mash temperature and duration, brewers can manipulate the sugar composition and create a wide range of flavors, body, and mouthfeel in their beers.
The advantages of all-grain brewing include:
- Recipe creativity: All-grain brewing offers the opportunity to develop unique recipes and experiment with different grains, allowing for a higher level of customization and creativity in the brewing process.
- Flavor control: By starting with raw grains, brewers have more control over the malt character and can achieve more complex and nuanced flavors in their beers.
- Cost savings: All-grain brewing can be more cost-effective in the long run compared to extract brewing, as raw grains are generally less expensive than malt extracts.
While all-grain brewing requires additional equipment and a more involved process, it offers a rewarding experience for brewers seeking to expand their skills and explore the full potential of brewing.
3.2 Temperature Control and Fermentation Management
Temperature control during fermentation is a critical factor in producing high-quality beers. Maintaining optimal fermentation temperatures ensures proper yeast activity, minimizes off-flavors, and promotes the desired flavor development. Here’s a look at the importance of temperature control and techniques for achieving it:
- Temperature control importance: Yeast is highly sensitive to temperature, and different yeast strains have specific temperature ranges at which they perform best. Fermenting outside these ranges can lead to unwanted flavors, stalled fermentation, or overly vigorous fermentation. Maintaining the proper temperature helps yeast work efficiently and produce the desired flavors and aromas.
- Techniques for temperature control:
- Fermentation chamber: A dedicated fermentation chamber, such as a refrigerator or temperature-controlled fermentation chamber, allows precise control over fermentation temperatures.
- Temperature-controlled fermentation belts or wraps: These devices wrap around the fermenter and provide heating or cooling as needed to maintain a stable temperature.
- Swamp cooler: This technique involves placing the fermenter in a larger container filled with water. Evaporation helps regulate the temperature, and frozen water bottles can be added to cool the water if needed.
- Temperature controllers: These devices connect to heating or cooling devices and monitor the fermentation temperature, automatically adjusting as necessary.
- Monitoring temperature: It’s essential to monitor the fermentation temperature using a thermometer or a temperature probe attached to the fermenter. Regular temperature checks ensure that the desired temperature range is maintained throughout the fermentation process.
By implementing temperature control techniques and monitoring fermentation temperatures closely, brewers can create beers with well-developed flavors and avoid off-flavors caused by temperature-related issues.
3.3 Experimental Brewing
For brewers looking to push the boundaries and explore unique flavors and ingredients, experimental brewing opens up a world of possibilities. This approach encourages creativity and innovation in recipe formulation and brewing techniques. Here are some key aspects of experimental brewing:
- Unique ingredients and flavor profiles: Experimenting with unusual ingredients, such as different hop varieties, fruit additions, spices, herbs, or alternative grains, can result in distinctive flavors and aroma profiles. Brewers can draw inspiration from various sources, including culinary trends, cultural ingredients, or personal preferences.
- Techniques for creating experimental brews: Brewers can employ various techniques to introduce experimental elements into their beers, such as dry hopping, hop bursting, fruit infusion, barrel aging, or blending different beer styles. These methods allow for the creation of complex flavor profiles and unique beer experiences.
- Documentation and evaluation: When engaging in experimental brewing, it’s crucial to document the process, ingredient quantities, and brewing techniques used. This documentation enables brewers to evaluate the results and make adjustments for future batches.
Experimentation is at the heart of craft brewing, and by exploring new ingredients and techniques, brewers can push the boundaries of traditional beer styles and create exciting and innovative brews that showcase their creativity and passion.
In Chapter 3, we’ve covered advanced home brewing techniques, including all-grain brewing, temperature control for fermentation, and the realm of experimental brewing. These techniques provide experienced brewers with the tools to elevate their brewing skills and create unique and exceptional beers.
Chapter 4: Troubleshooting and Common Mistakes
4.1 Identifying and Resolving Off-Flavors
Despite careful brewing practices, off-flavors can occasionally occur in homebrewed beer. Identifying and resolving these off-flavors is essential for producing high-quality beer. Here are some common off-flavors, their causes, and tips for troubleshooting and correcting them:
- Diacetyl: Diacetyl imparts a buttery or butterscotch-like flavor. It can result from bacterial contamination, incomplete fermentation, or poor yeast health. To troubleshoot, ensure thorough fermentation, proper yeast pitching rates, and adequate aeration. If diacetyl is present, extending the fermentation period or performing a diacetyl rest at higher temperatures can help eliminate it.
- Acetaldehyde: Acetaldehyde produces a green apple or fresh-cut green grass aroma. It may arise from insufficient yeast activity or premature removal of beer from the yeast sediment. To address this off-flavor, ensure a complete fermentation and proper maturation time before bottling or kegging.
- Phenolic or medicinal flavors: These flavors can resemble band-aids, plastic, cloves, or smoke. They are often caused by yeast or bacterial contamination or inappropriate fermentation temperatures. Maintaining proper sanitation practices and controlling fermentation temperatures within the recommended range can help eliminate these flavors.
- Oxidation: Oxidation leads to stale, papery, or cardboard-like flavors. It can occur during the brewing process or due to improper packaging and storage. To prevent oxidation, minimize exposure to oxygen during transfers, use airtight containers for storage, and avoid prolonged exposure to light.
- Metallic or astringent tastes: These flavors can result from contact between the beer and metal equipment, such as pots or fermenters. Using high-quality stainless steel or food-grade plastic equipment, and avoiding prolonged contact between beer and metal surfaces, can help prevent metallic off-flavors.
- Infection: Infections can cause various off-flavors, including sourness, vinegar-like flavors, or excessive carbonation. Proper sanitation practices and regular cleaning of brewing equipment are crucial to prevent infections. If an infection occurs, separate infected equipment, sanitize thoroughly, and consider using separate yeast strains and fermentation vessels in the future.
When troubleshooting off-flavors, it’s essential to consider the entire brewing process, including ingredient quality, fermentation conditions, and sanitation practices. Patience, attention to detail, and a systematic approach will help identify and resolve off-flavors, resulting in better-tasting beer.
4.2 Common Mistakes and How to Avoid Them
Even experienced home brewers can make mistakes that impact the quality of their beer. Understanding common brewing mistakes and knowing how to avoid or rectify them can significantly improve the brewing process. Here’s an overview of typical home brewing mistakes and guidance on how to avoid them:
- Poor sanitation: Insufficient sanitation can lead to contamination and off-flavors in the beer. To avoid this mistake, practice thorough cleaning and sanitization of all brewing equipment, including fermenters, airlocks, hoses, and bottles. Use a food-grade sanitizer and follow recommended procedures for effective sanitation.
- Inadequate temperature control: Fluctuations in fermentation temperature can result in off-flavors or incomplete fermentation. Maintain proper temperature control throughout the brewing process, especially during fermentation. Use a fermentation chamber, temperature-controlled wraps, or other temperature control methods to ensure consistent and appropriate temperatures.
- Overpitching or underpitching yeast: Adding too much or too little yeast can affect fermentation performance and lead to off-flavors. Follow yeast pitching rate recommendations based on beer style and batch size. Consider using yeast calculators or pitching calculators to determine the appropriate yeast quantity.
- Incorrect measurements: Accurate measurements of ingredients, such as malt, hops, and water, are crucial for achieving desired beer characteristics. Use calibrated scales, hydrometers, and thermometers to ensure precise measurements and achieve consistent results.
- Inadequate aeration or oxygen exposure: Oxygen exposure during the brewing process can lead to oxidation and off-flavors. Properly aerate the wort before yeast pitching but avoid excessive aeration during transfers or bottling. Minimize oxygen contact by using sealed containers and purging headspace with carbon dioxide when packaging.
- Rushing the process: Impatience can lead to suboptimal results. Allow sufficient time for fermentation, conditioning, and carbonation according to the beer style. Follow recommended timelines and resist the temptation to rush through the process to ensure the best quality beer.
By understanding and addressing these common mistakes, home brewers can enhance their brewing skills and produce exceptional, high-quality beer. Attention to detail, adherence to best practices, and a willingness to learn from mistakes will contribute to a successful brewing experience.
Chapter 5: Home Brewing Tips and Best Practices
5.1 Sanitization and Cleanliness
Maintaining proper sanitization practices and a clean brewing environment are crucial for producing high-quality beer. Here are some tips to help you achieve optimal sanitization and cleanliness:
- Importance of sanitization: Proper sanitization eliminates unwanted bacteria, wild yeasts, and other contaminants that can spoil your beer or cause off-flavors. Use a food-grade sanitizer and follow the manufacturer’s instructions for effective sanitization.
- Cleanliness throughout the brewing process: Clean and sanitize all brewing equipment, including fermenters, airlocks, hoses, brewing spoons, and bottles. Regularly clean and sanitize your brewing space, countertops, and any surfaces that come into contact with the beer.
- Diligence in handling: Practice good hygiene when handling brewing equipment and ingredients. Wash your hands thoroughly before touching any brewing equipment or ingredients to minimize the risk of introducing contaminants.
- Separate cleaning and sanitizing equipment: Use separate brushes, sponges, or cloths for cleaning and sanitizing to avoid cross-contamination. Designate specific equipment for each purpose and ensure they are thoroughly cleaned and dried between uses.
- Follow recommended contact time: Allow the sanitizing solution to remain in contact with the surfaces for the recommended time specified by the sanitizer manufacturer. This ensures effective sanitization and eliminates any potential residual contaminants.
- Pay attention to small parts: Don’t overlook small components like airlock grommets, seals, or O-rings. These can harbor bacteria or other contaminants if not properly cleaned and sanitized. Disassemble and clean these parts thoroughly to maintain a sanitary brewing environment.
By prioritizing proper sanitization practices and maintaining a clean brewing environment, you can minimize the risk of contamination and produce consistently high-quality beer.
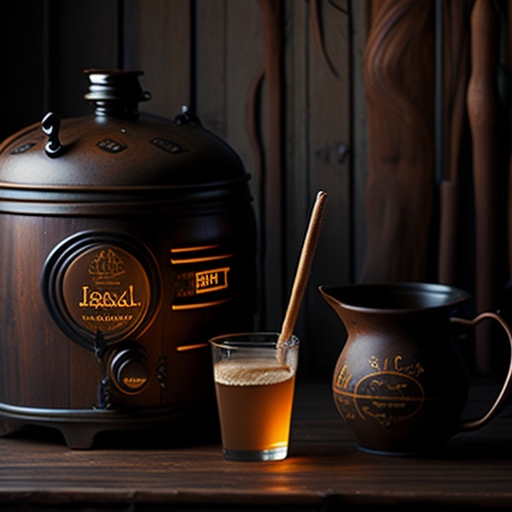
5.2 Carbonation Methods and Bottle Conditioning
Carbonation adds the desired level of fizziness to your beer, and there are several methods to achieve carbonation. Here’s an explanation of carbonation options and a step-by-step guide to bottle conditioning:
Carbonation options:
- Priming sugar: Priming sugar is added to the beer before bottling to provide a food source for the remaining yeast, which ferments and produces carbon dioxide. This carbonates the beer naturally in the bottle.
- Kegging: If you have kegging equipment, you can force carbonate your beer by applying carbon dioxide directly to the keg. This method allows for precise control over carbonation levels.
Bottle conditioning process:
- Ensure your beer has completed fermentation before bottling. This typically takes around two weeks or until the specific gravity remains stable for consecutive days.
- Calculate the appropriate amount of priming sugar needed based on the beer style and desired carbonation level. Dissolve the priming sugar in a small amount of boiling water and let it cool.
- Transfer the beer into sanitized bottles, leaving some headspace for carbonation. Use a siphoning method to minimize the introduction of oxygen.
- Add the priming sugar solution to the beer, either by adding it directly to each bottle or by gently stirring it into the entire batch before bottling.
- Seal the bottles with sanitized caps or corks and store them in a dark, cool place for the carbonation process to occur. Carbonation typically takes around two to four weeks, depending on the beer style and temperature.
- Once carbonation is achieved, refrigerate the bottles to halt further carbonation and allow the flavors to mature.

By following these steps, you can successfully carbonate your beer through bottle conditioning and achieve the desired level of carbonation for a delightful drinking experience.
In Chapter 5, we’ve discussed the importance of proper sanitization practices and cleanliness in home brewing. We’ve also explored different carbonation methods, with a focus on bottle conditioning. By implementing these tips and best practices, you can ensure the quality and consistency of your homebrewed beer.
Conclusion
In this comprehensive guide to home brewing, we have covered a wide range of topics to help you embark on your brewing journey. Let’s recap the key points we’ve explored:
We began by introducing the basics of home brewing, highlighting the benefits of brewing your own beer and providing an overview of the brewing process. Understanding these fundamentals is crucial for a successful brewing experience.
Next, we delved into the essential equipment required for home brewing, emphasizing the importance of high-quality equipment and offering recommendations to ensure you have the necessary tools for the job.
We then turned our attention to the key ingredients used in home brewing: malt, hops, yeast, and water. We discussed the significance of ingredient quality and selection, as they greatly impact the flavor and aroma of your beer.
Moving on to the step-by-step brewing process, we explored recipe selection and formulation, mashing techniques, boiling and hop addition methods, and the vital stages of fermentation and conditioning. Understanding these processes in detail is essential for producing well-crafted beers.
We also delved into advanced brewing techniques, including all-grain brewing, temperature control, fermentation management, and experimental brewing. These techniques allow you to further explore and expand your brewing skills, pushing the boundaries of flavor and creativity.
Recognizing that troubleshooting and common mistakes are part of the brewing journey, we dedicated a chapter to identifying and resolving off-flavors and provided guidance on how to avoid typical brewing mistakes.
Lastly, we highlighted the importance of sanitization and cleanliness throughout the brewing process, as well as different carbonation methods, with a focus on bottle conditioning.
By following these tips, best practices, and techniques, you can confidently pursue your passion for home brewing and create exceptional beers that you can proudly share with friends and family.
Remember, brewing is both an art and a science, and it’s a journey of continuous learning and experimentation. Embrace the process, stay curious, and enjoy the satisfaction of crafting your own delicious beers. Cheers to your home brewing success!
Home Brewing FAQs
-
What are the essential home brewing techniques every beginner should know?
The essential home brewing techniques every beginner should know are crucial for a solid brewing foundation. Beginners should focus on understanding the brewing process, practicing proper sanitization techniques, managing fermentation, and controlling temperature. Additionally, learning how to select and balance ingredients, such as malt, hops, and yeast, is essential for flavorful beers. Mastering these techniques will provide beginners with the confidence to start brewing.
-
How long does the home brewing process take?
The duration of the home brewing process varies depending on factors like beer style and fermentation conditions. Generally, it takes around 4 to 6 weeks from the start to enjoy your beer. The steps involved include mashing, boiling, fermentation, conditioning, and carbonation. Certain beer styles, like lagers or those with extended aging periods, may require longer fermentation and conditioning times. Patience is key in home brewing, allowing flavors to develop and carbonate for a better end product.
-
What equipment do I need to start home brewing?
To start home brewing, you’ll need essential equipment like a fermenter, airlock, hydrometer, thermometer, brew kettle, siphoning setup, sanitizing solution, and bottles or kegs for packaging. Depending on your preferred method (extract or all-grain brewing), additional equipment like a mash tun or starter kit may be necessary. Investing in high-quality equipment from reputable suppliers ensures a smoother brewing experience and better results.
-
How do I choose the right yeast for my homebrew?
Choosing the right yeast for homebrew is crucial for desired flavors and characteristics. Consider the beer style and desired flavor profile when selecting yeast. Ale yeast strains like Saccharomyces cerevisiae are commonly used for ales, while lager yeast strains like Saccharomyces pastorianus are used for lagers. Each strain produces distinct flavors and aromas, so researching their characteristics and matching them to your desired style is important. Consider temperature ranges and attenuation levels as well during fermentation.
-
What are some common off-flavors in homebrewed beer, and how can I fix them?
Common off-flavors in homebrewed beer can result from fermentation issues, contamination, or improper ingredient handling. Examples include diacetyl (buttery or butterscotch flavor), acetaldehyde (green apple-like flavor), or phenols (medicinal or band-aid-like flavors). To fix these off-flavors, identify the root cause and take preventive measures like proper fermentation temperature control, healthy yeast pitching rates, and adequate sanitation practices. Adjusting fermentation temperatures, extending conditioning periods, or addressing sanitation issues can help alleviate or eliminate off-flavors.
-
Can I brew beer at home without specialized equipment?
Yes, you can brew beer at home without specialized equipment. Home brewing methods range from simple extract brewing to more complex all-grain techniques. Extract brewing involves using concentrated malt extract instead of mashing. It’s a beginner-friendly approach that requires minimal equipment. As you gain experience, you can explore more advanced methods. Experimenting with different recipes, ingredients, and techniques allows for a diverse range of beers brewed at home.